Create an interactive map with Vue 3, Typescript and Google Maps JS API

In this tutorial we will create an interactive map application with Vue 3, Typescript, Pinia and Google Maps JS API. We will also be utilizing the experimental feature Suspense to create a skeleton loader while our map application is loading.
Tags: Vue 3, Typescript, Pinia, Google Maps JS API.
Time to read: 10 min
Prerequisites
- Familiarity with the command line
- Install Node.js version 16.0 or higher
- Google Maps JS API key & MapID
Initialize Project
First off we will create a new folder and run the official vue project scaffold to get a base structure.
mkdir map-project && cd map-project
npm init vue@latest
The CLI will ask you what to name the project and what functionality to include. Use the arrow keys and enter key to select the following functionality:
✔  Project name:  map-app
✔  Add TypeScript? … No /  Yes
✔  Add JSX Support? … No  / Yes
✔  Add Vue Router for Single Page Application development? … No  / Yes
✔  Add Pinia for state management? … No / Yes
✔  Add Vitest for Unit testing? … No  / Yes
✔  Add Cypress for both Unit and End-to-End testing? … No  / Yes
✔  Add ESLint for code quality? … No / Yes
✔  Add Prettier for code formatting? … No / Yes

Scaffolding project in ./...
Done.
Now run below commands to test run the scaffold application.
  cd map-app
  npm install
  npm run dev
The application comes with some files that we will not need, so before adding any more functionality we will begin by removing unnecessary files from the app.
- remove all files that lies within the "./src/components/" folder.
- remove all code from the the "./src/App.vue" file.
- remove the "./src/assets/main.css" file.
- remove all files within "./src/stores/".
Setup PostCSS and adjust styling file.
For this project we will use PostCSS with postcss-nested. Using these dependencies we will be able to write scss styled css without having to use scss.
It will make the build process faster than using .scss files and it will let us be more modular. Scss includes alot of functionality which we will most likely never use.
If you are curious to see what other plugins can be used for postcss you can check this official PostCSS Plugins Page.
run below command in the command line
npm i postcss postcss-nested
create a new file: ""./postcss.config.js"
and add the following code to the file:
// eslint-disable-next-line no-undef
module.exports = (ctx) => ({
  parser: ctx.parser ? 'sugarss' : false,
  map: ctx.env === 'development' ? ctx.map : false,
  plugins: {
    'postcss-nested': {},
  },
});
create a new file: "./.vscode/settings.json"
and add the following code:
{
    "css.validate": false,
    "less.validate": false,
    "scss.validate": false,
}
Then we will add some css variables that will be nice to have once the application gets bigger. replace the ./src/assets/base.css file with the following code:
:root {
  /* Colors */
  --white: #ffffff;
  --white-soft: #f8f8f8;
  --white-mute: #f2f2f2;

  --black: #181818;
  --black-soft: #222222;
  --black-mute: #282828;
  --black-transparent: rgba(0, 0, 0, 0.2);
  --black-transparent-2: rgba(32, 33, 36, 0.7);

  --grayscale-1: #212121;
  --grayscale-2: #424242;
  --grayscale-3: #616161;
  --grayscale-4: #757575;
  --grayscale-5: #eeeeee;

  --cta-yellow: #ffb813;
  --cta-green: #99bb99;
  --cta-red: #cb2933;

  --red: #cb2933;
  --red-tint: #e64848;
  --blue: #24bab9;
  --blue-tint: #9ed2c6;
  --green: #52ab8a;
  --green-tint: #ceffe1;
  --indigo: #3f4856;
  --indigo-light: #4c3e50;

  --gradient-1: radial-gradient(circle, rgba(177, 236, 187, 0.7) 0%, rgba(160, 211, 212, 0.7) 100%);
  --gradient-2: radial-gradient(circle, rgba(255, 231, 180, 1) 0%, rgba(160, 211, 212, 1) 100%);
  --gradient-3: radial-gradient(circle, rgb(255 250 231) 0%, #ffffff 100%);
  --gradient-4: radial-gradient(circle, rgba(177, 236, 187, 0.3) 0%, rgba(160, 211, 212, 0.3) 100%);

  /* fonts */
  --font-size-xsmall: 12px;
  --font-size-small: 14px;
  --font-size-regular: 16px;
  --font-size-medium: 20px;
  --font-size-medium-lg: 24px;
  --font-size-large: 28px;
  --font-size-huge: 52px;

  --line-height-mini: 14px;
  --line-height-regular: 24px;
  --line-height-large: 30px;
  --line-height-larger: 40px;

  /* shadows */
  --box-shadow-1: 1px 1px 4px var(--black-transparent);
  --box-shadow-2: 1px 1px 5px var(--grayscale-5);
  --box-shadow-3: 0px 0px 5px var(--black-transparent);

  /* theme-colored-texts */
  --text-light-1: var(--black-soft);
  --text-light-2: var(--black-mute);
  --text-light-c-1: var(--green);
  --text-light-c-2: var(--green-tint);
  --text-dark-1: var(--white);
  --text-dark-2: var(--white);
  --text-dark-c-1: var(--green);
  --text-dark-c-2: var(--green-tint);
}

/* LightTheme */
:root {
  --color-background: var(--white);
  --color-background-soft: var(--white-soft);
  --color-background-mute: var(--white-mute);

  --color-border: var(--divider-light-2);
  --color-border-hover: var(--divider-light-1);

  --color-heading: var(--text-light-1);
  --color-heading-c: var(--text-light-c-1);
  --color-text: var(--text-light-2);
  --color-text-c: var(--text-light-c-2);
}

/* DarkTheme */
@media (prefers-color-scheme: dark) {
  :root {
    --color-background: var(--white);
    --color-background-soft: var(--white-soft);
    --color-background-mute: var(--white-mute);

    --color-border: var(--divider-dark-2);
    --color-border-hover: var(--divider-dark-1);

    --color-heading: var(--text-light-1);
    --color-heading-c: var(--text-light-c-1);
    --color-text: var(--text-light-2);
    --color-text-c: var(--text-light-c-2);
  }
}

*,
*::before,
*::after {
  box-sizing: border-box;
  margin: 0;
}
html,
body {
  margin: 0px;
  height: 100%;
  color: var(--color-text);
  background: var(--color-background);
  transition: color 0.5s, background-color 0.5s;
  line-height: 1.6;
  font-family: Inter, -apple-system, BlinkMacSystemFont, 'Segoe UI', Roboto, Oxygen, Ubuntu, Cantarell, 'Fira Sans', 'Droid Sans',
    'Helvetica Neue', sans-serif;
  font-size: var(--font-size-small);
  text-rendering: optimizeLegibility;
  user-select: none;
  touch-action: none;
}

#app {
  height: 100%;
}
replace the ./src/main.ts file with below code.
import { createApp } from 'vue';
import { createPinia } from 'pinia';
import App from './App.vue';

const app = createApp(App);

app.use(createPinia());

app.mount('#app');
Too much time indoors, in front of the computer? Find an activity to do Outside at GeoQuestr.com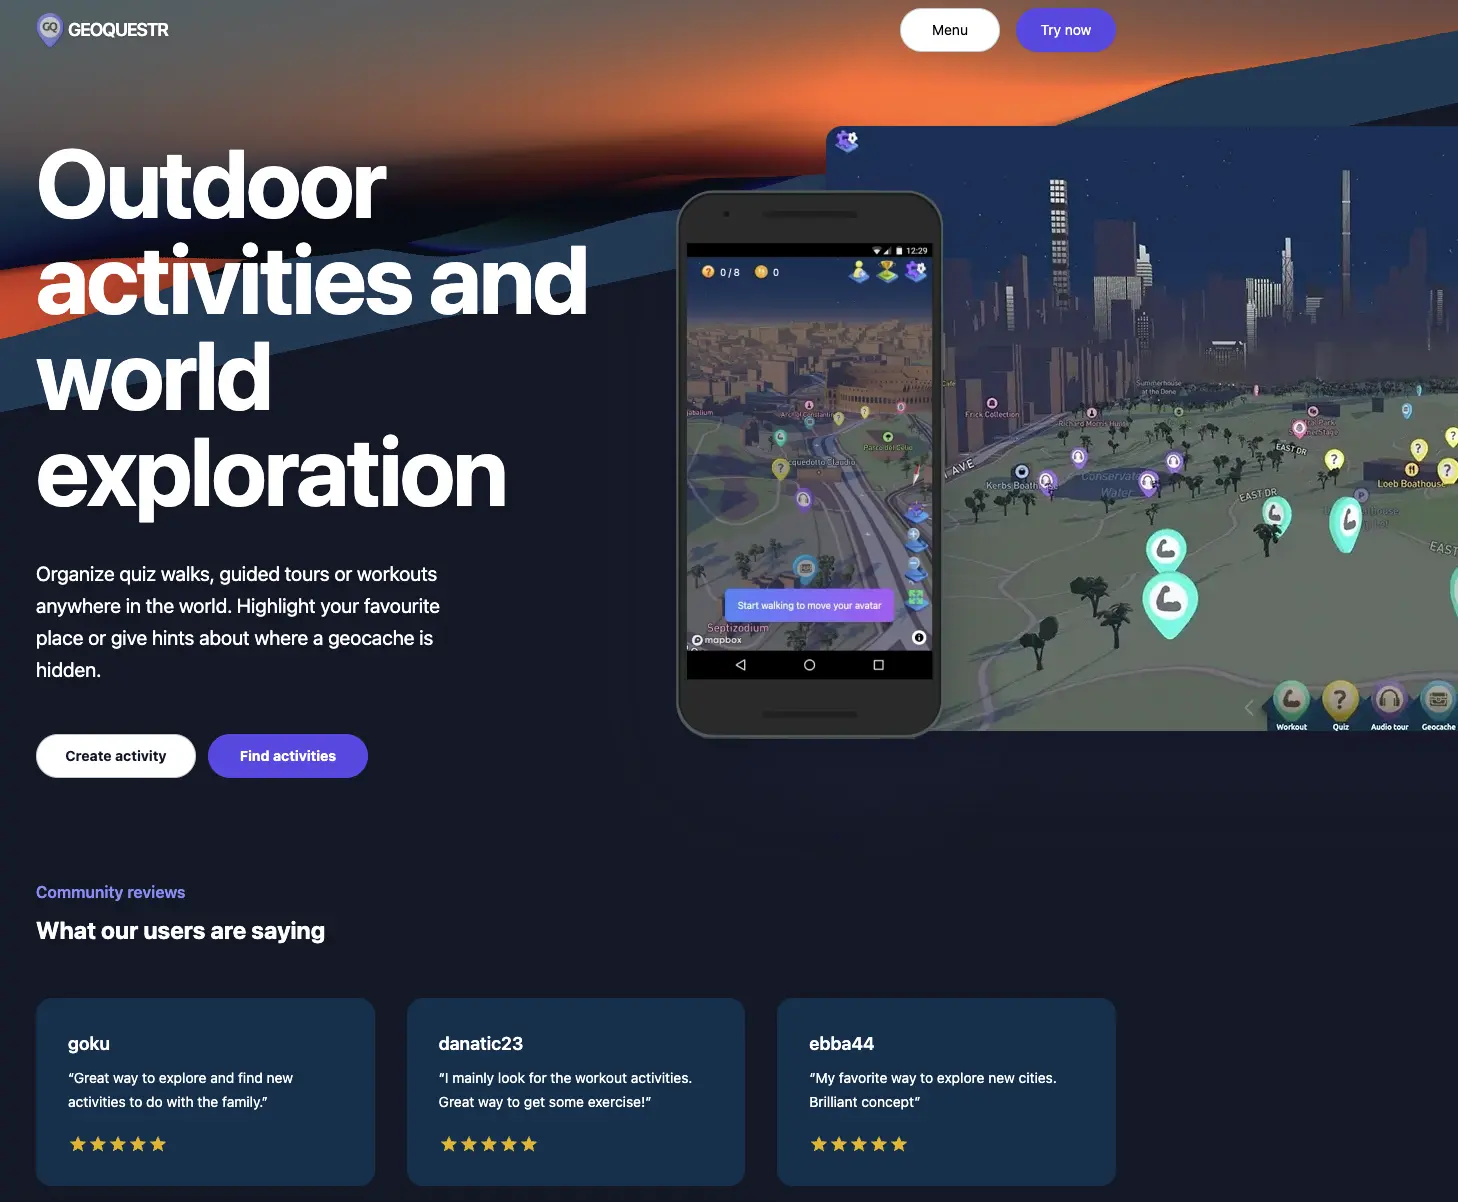
Add new code to App file
Now that we have initialized our project and added postcss config, we will start to add our map functionality.
We will begin by adding new code to our "./src/App.vue" file.
<script setup lang="ts">
import TheMap from './components/TheMap.vue';
import LoadingScreen from './components/LoadingScreen.vue';
</script>

<template>
  <div id="map-mount"></div>
  <Suspense>
    <template #default>
      <TheMap />
    </template>
    <template #fallback>
      <LoadingScreen />
    </template>
  </Suspense>
</template>

<style>
@import '@/assets/base.css';
</style>

<style scoped>
#map-mount,
#map-loading-screen {
  position: absolute;
  height: auto;
  width: 100%;
  top: 0;
  bottom: 0;
  border: none;
  min-height: 100%;
  text-rendering: optimizeLegibility;
  user-select: none;
  touch-action: none;
  overflow: hidden;
}
#map-mount {
  z-index: 10;
}
#map-loading-screen {
  z-index: 20;
}
</style>
This will be our entrancepoint. If you look at the code here you see that we import 2 components (TheMap and LoadingScreen) which does not exist yet.
We will proceed by implementing them soon but first lets just analyze this code and see what happens. Within the template tag we have a div with the id of "map-mount".
This is where we will append our map later and in the style block you can see that we are also implementing css for #map-mount. We also implement the exact same styling for the map-loading-screen which will be displayed while TheMap component is still loading.
To do this we wrap both TheMap and LoadingScreen component with vues built in component called Suspense. We also set TheMap within the #default template and the LoadingScreen within the #fallback template. This way, what ever is within the #fallback template will be shown, until all async promises within the #default template is resolved.
Lets proceed.
Install necessary packages
run below commands in the commandline while standing in the root of the project folder.
npm i @types/google.maps @googlemaps/js-api-loader
Create TheMap component
Create a new file: ./src/components/TheMap.vue and Add the following code to the file:
<script setup lang="ts">
  import { initMap } from '@/utils/mapUtils';
  import { tilesLoaded } from '@/utils/mapUtils';
  const map = await initMap('map-mount');
  await tilesLoaded(map);
</script>

<template>
  <div></div>
</template>
In this file we are importing 2 functions from another file which are not yet created. Lets create that file.
Add Map Utilities
Create a new file: ./src/utils/mapUtils.ts and add the following code to the file:
import { Loader } from "@googlemaps/js-api-loader";
import {
  API_SETTINGS,
  MAP_SETTINGS,
} from "@/constants/mapConfig";

//init Map
export async function initMap(elementId: string) {
  const mapDiv = document.getElementById(elementId) as HTMLElement;
  const apiLoader = new Loader(API_SETTINGS);
  await apiLoader.load();
  return new google.maps.Map(mapDiv, MAP_SETTINGS);
}

//await all tiles on map to be loaded.
export function tilesLoaded(
  map: google.maps.Map,
  timeout = 1500
): Promise<void> {
  return new Promise<void>((resolve) => {
    const listener = map.addListener("tilesloaded", () => {
      listener.remove();
      resolve();
    });

    setTimeout(() => {
      listener.remove();
      resolve();
    }, timeout);
  });
}
Add Map Config
Create another new file: ./src/constants/mapConfig.ts add the following code to the file:
interface APITYPE {
  apiKey: string;
  mapIds: string[];
  region: string;
  language: string;
  version: string;
}

export const API_SETTINGS: APITYPE = {
  apiKey: import.meta.env.VITE_GM_K,
  mapIds: [import.meta.env.VITE_GM_MAPID],
  region: 'US',
  language: 'EN',
  version: 'quarterly',
};

export const MAP_SETTINGS = {
  tilt: 67.5,
  heading: 0,
  zoom: 4,
  center: {
    lat: 0,
    lng: 0,
  },
  mapId: import.meta.env.VITE_GM_MAPID,
  disableDefaultUI: true,
  draggable: true,
  zoomControl: false,
  isFractionalZoomEnabled: true,
  gestureHandling: 'greedy',
};
Add the LoadingScreen component
Now we've added all functionalities for TheMap component, however before we will be able to run the application we must build the LoadingScreen component, and as a bonus we will also set up a pinia-store that we will use to display informative status messages in the loading screen.
Create a new file: ./src/components/LoadingScreen.vue add the following code to the new file:
<script setup lang="ts">
  import { useLoadingStore } from '@/stores/loading.store';
  const store = useLoadingStore();
</script>
<template>
  <div class="map-loading-screen" id="map-loading-screen">
    <div class="map-loading-screen__middle">
      <div class="map-loading-screen__content-wrapper">
        <span class="map-loading-screen__text"> {{ store.statusText }} </span>
        <progress id="objectLoad" :value="store.progress" max="100">{{ store.progress }}</progress>
      </div>
    </div>
  </div>
</template>
<style scoped>
  .map-loading-screen {
    display: flex;
    justify-content: center;
    align-items: center;
    color: var(--white);
    background: var(--gradient-2);
    &__middle {
      width: 200px;
    }
    &__content-wrapper {
      display: flex;
      flex-direction: column;
    }
    &__text {
      text-align: center;
      padding: 4px;
    }
  }
  progress {
    width: 200px;
    border-radius: 4px;
    height: 22px;
    box-shadow: var(--box-shadow-1);
  }
  progress::-webkit-progress-bar {
    background-color: var(--cta-green);
    border-radius: 4px;
  }
  progress::-webkit-progress-value {
    background-color: var(--blue);
    border-radius: 4px;
    box-shadow: var(--box-shadow-2);
  }
  progress::-moz-progress-bar {
    background-color: var(--cta-green);
    border-radius: 4px;
  }
  progress::-moz-progress-value {
    background-color: var(--blue);
    border-radius: 4px;
    box-shadow: var(--box-shadow-2);
  }
</style>
Create the Pinia Store.
create a new file: ./src/stores/loading.store.ts
add the following code to the file:
import { defineStore } from 'pinia';

export const useLoadingStore = defineStore('useLoadingStore', {
  state: () => ({
    _progress: 0,
    _statusText: 'Warming up',
  }),
  getters: {
    progress(): number {
      return this._progress;
    },
    statusText(): string {
      return this._statusText;
    },
  },
  actions: {
    setProgress(progress: number) {
      this._progress = progress;
    },
    setStatusText(statusText: string) {
      this._statusText = statusText;
    },
  },
});
Setup Google Maps JS API.
Now we have added all necessary code for the application, we just need to add our google maps js API key and map ID to the .env file.
Create a new file: .env
add your api keys like below:
VITE_GM_K= your-api-key-here
VITE_GM_MAPID= your-map-id-here
If you need help on how to get an API key for google maps, i recommend to follow Googles Instructions here
After you have added the api key you can run the application with:
npm run dev
Now you have created a map application with Vue 3, Typescript, PostCSS and the Google Maps JS API. How fun, well done!
But now the learning really begins. Start to play around with the code for a while! Try to understand it. Dissect it, bit by bit.
Did you like this tutorial?
You can support me, so that i can continue to make more tutorials like this one.